In case you haven't picked up on it, I worked this last year for a program called AVID. AVID stands for:
A= Advancement
V= Via
I= Individual
D= Determination
Its a program designed to help those students "caught in the middle" and bring them up. It is also designed to help students who might not otherwise consider or have the means go to college. If you want more information, check out their website http://www.avid.org/ or contact me.
Last year, I served the roll of tutor for several grade levels in the local big school district. Seeing the direct benefit for students by partaking in AVID really touched my heart. When I got hired at my new school, I knew that my principal also had a soft spot for AVID. After mentioning that I was interested in trying an AVID strategy called interactive notebooks (INBs) that had a unique twist, my principal offered to send me to an AVID pathway training in my old district. Two days. 12 clock hours. AVID notebooks. You bet I hoped on that metaphorical train.
At the end of the training, in addition to all the other cool tips and tricks, it became abundantly clear to me that I needed some sort of way to organize the additional tools and resources my students were going to need if notebooks were to be successful.
You see, INBs require not just your usual note taking strategy of sit, listen to a lecture or read a book, and take notes on the major touch points. INBs require glue sticks, scissors, tape, markers, white out (for those whoops). I know that my students may not have access to those items due to monetary constraints. So I hit up the "Back to School" sales and went to work.
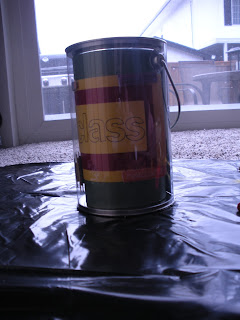
I found the school supply/pencil box for $0.57 each; purchased five of them. Then the scissors were $1.50 each, found the glue sticks at a steal of 8 for $6.00, and correction tape and scotch tape for about $0.50 each. Essentially I got enough for six students to share one box, times five boxes and then some extra supplies for back stock. Each box is located in the back of the room, on the windowsill and the oversize "B"s from Ikea that make great book ends. Additionally, I printed up an inventory list so that students should know what is suppose to be in the box at the end of each class period.
As a final touch, I put up a list in the back of the room on my supply closet. Each box is numbered (one through five) and then students can report missing supplies or damaged items.
For roughly $67 I have stocked my classroom with what I will hope an organized method while also supplying my students with the tools they need to be successful.
How do you organize your room at the beginning of the year?


